Welcome to Redframe!
This guide will teach you how to create your website in a few quick steps. Click on any link on the right to jump directly to that section, or just scroll down the page to get started.
You can follow these instructions in any order and still successfully build your website, but you will probably find it easiest to go in the order suggested. If you get stuck on a step, you can search the Redframe Help Center for answers or contact Redframe Support for personal support.
Best of luck with your website and your business!
Want an awesome website?
I. Customize Your Appearance
When you created your new Redframe website, you were asked to choose from one of Redframe’s many amazing Templates. Your website Template makes it easy for you to personalize your website’s appearance with very little effort.
1. Change Your Background
This step is optional. If you like the default background that came with your Template, then feel free to skip this step.
Customizing your background is one of the easiest ways to quick give your website a personal touch.
Depending on the Template you selected, your website may be using the Background Slideshow by default. The Background Slideshow lets you show a collection of background images that slowly fade in and out as your navigate your website.
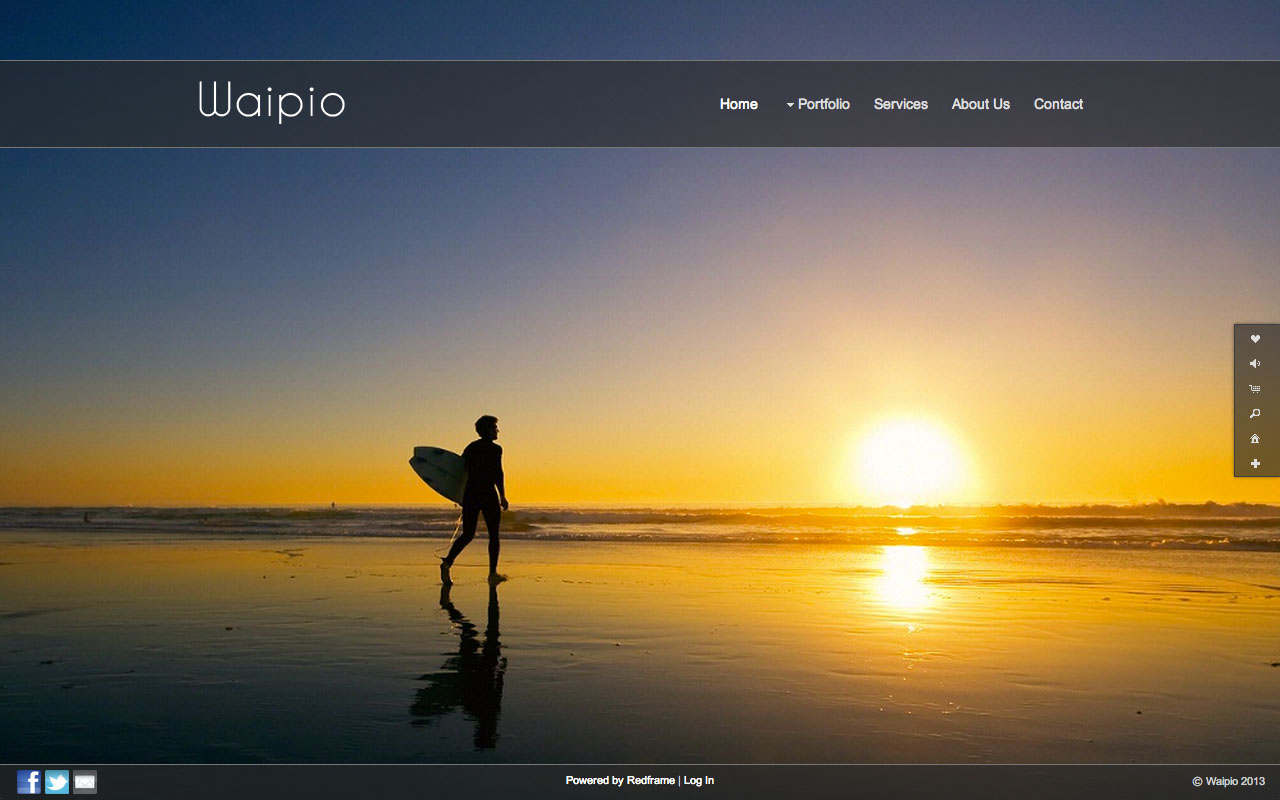
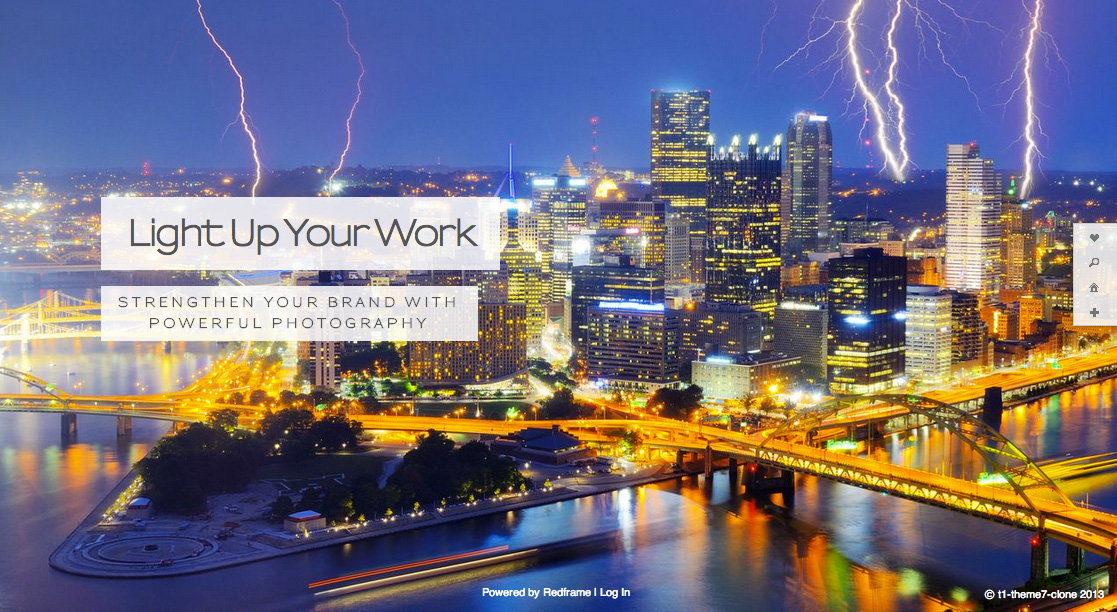
Example of a Template with a Background Slideshow. Templates that use the Background Slideshow by default include Waipio, Odyssey, Kailua, Moda, Illuminate, and Element.
- If your Template has a Background Slideshow…
…then you will want to replace the default background slideshow with your own images. Read Use the Background Slideshow for detailed instructions.
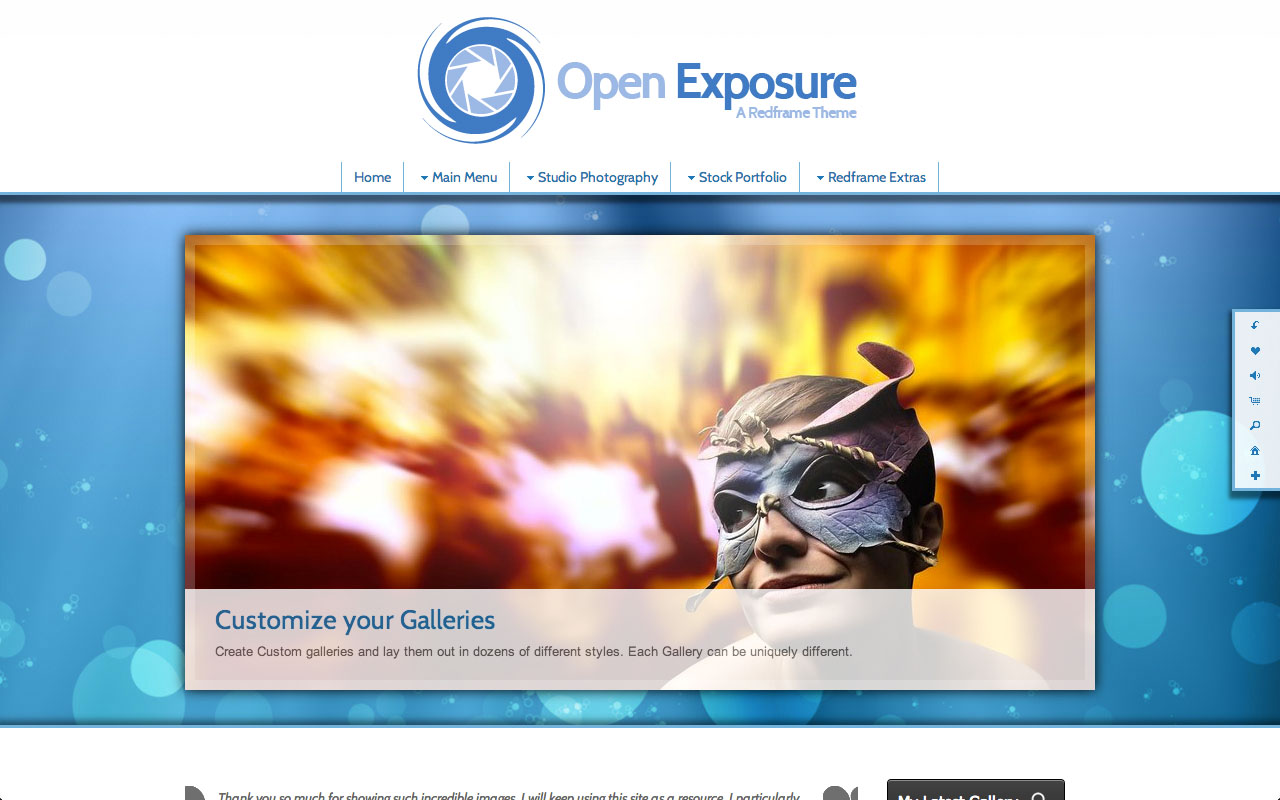
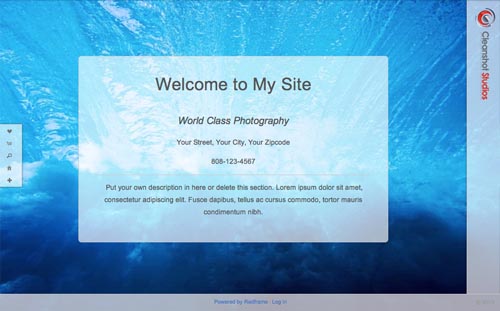
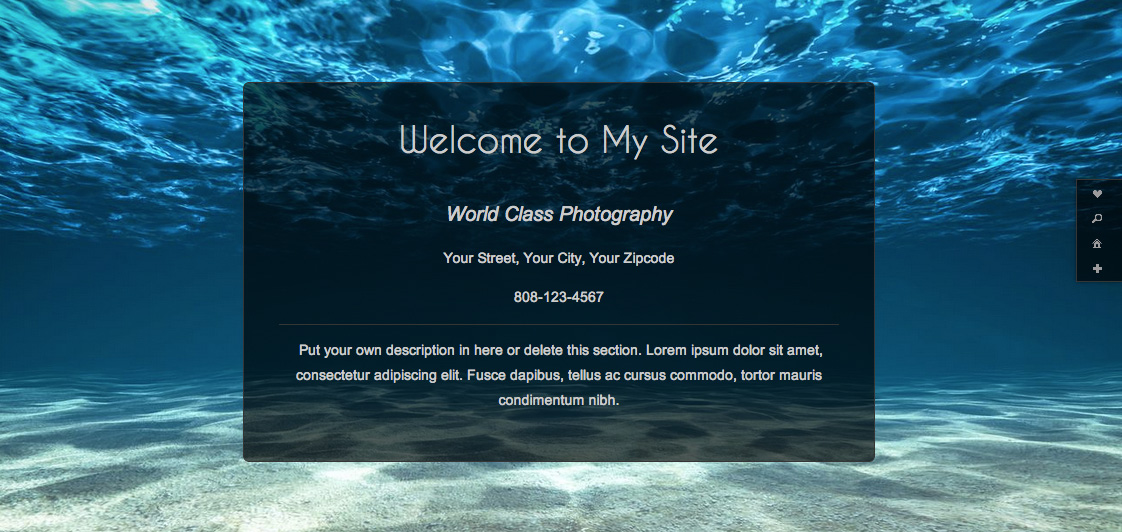
Example of a Template WITHOUT a Background Slideshow. This example is running a static image background. Templates that do not use the Background Slideshow by default include Fresh Start, Curvature, Open Exposure, Vision Studios, Aperture Tabbed, Floating Elegance, and Sharper Edge.
- If your Template does NOT have a Background Slideshow…
…then you might want to change the default background to a solid color, a color gradient, an image from the Redframe Background Library, or an image that you upload yourself. Read Change your website background for detailed instructions.
2. Change Your Colors
This step is optional. If you like the default color styles that came with your Template, then feel free to skip this step.
Once you have your new background, you will want to adjust your website’s color scheme so that it matches the colors in your background.
Redframe offers 30 preset color combinations that can be used on any website Template. Using the Real-time Appearance Editor, you can preview different color schemes from any Page or Gallery in your website.
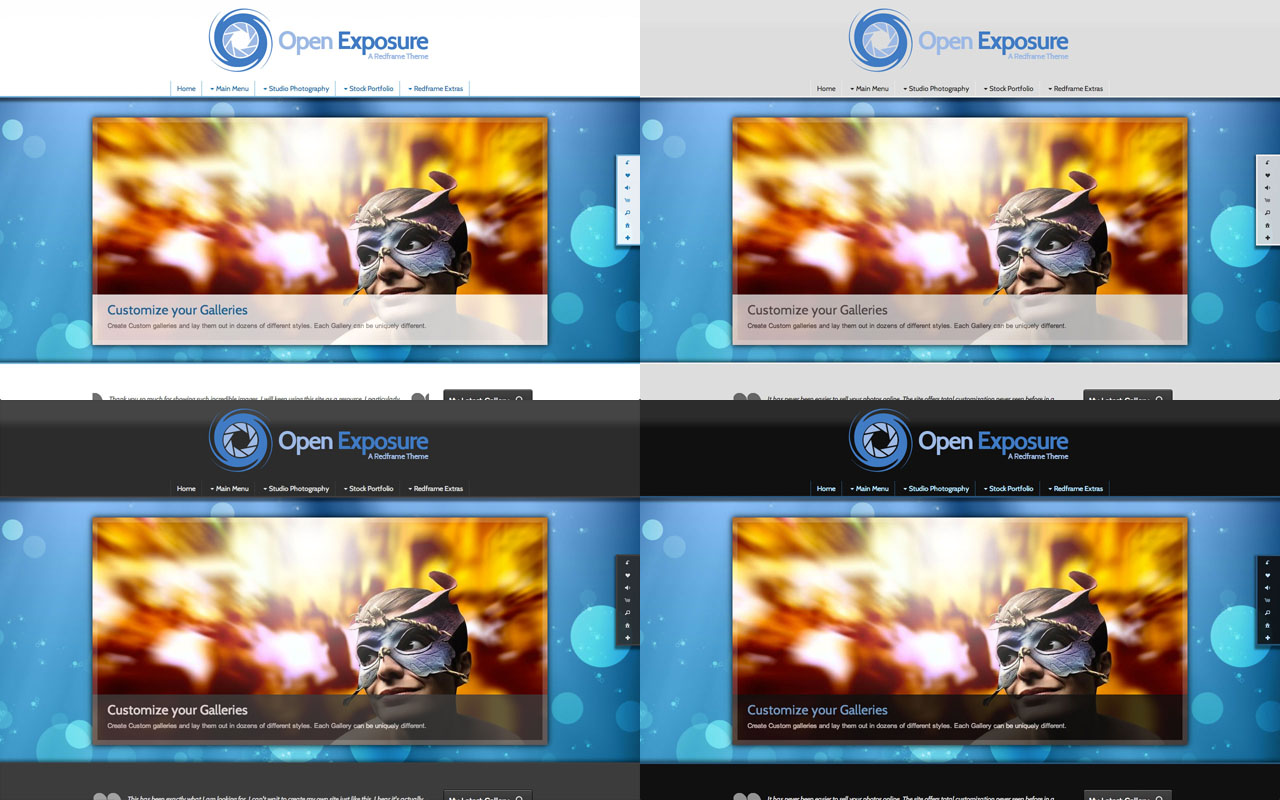
One Template, many color combinations. Choose the perfect color scheme for your website.
To learn how to change your website’s color scheme, read Change the colors on your website for detailed instructions.
3. Upload or Create a Logo
This step is optional. If you like the way your Company Name looks as a Logo in your Template, then feel free to skip this step.
When you first create your Redframe website, the Company Name you entered during the New Trial Creation will be used as your Logo for your website. This logo is styled according to the default Title Font of your website’s Template.
- If you want to upload your own image to use as a Logo…
…then use Manage Your Website Logo in the Real-time Appearance Editor to upload a JPG or PNG file from your computer. Read Upload your own Logo for more detailed information about how to upload a Logo and what file sizes work best with Redframe. - If you want to use Redframe’s Logo Editor to create your own Logo…
…then use Manage Your Website Logo in the Real-time Appearance Editor to open the Logo Editor. Read Create a Logo in the Logo Editor for more information about how to use the Logo Editor. - If you only want to change the font of your Company Name in your Logo…
…then use Font Controls in the Real-time Appearance Editor to change the Title Font for your website. Note that this will also change the font of all the titles used in your Pages and Galleries. Read Change the fonts used across your website for more information.
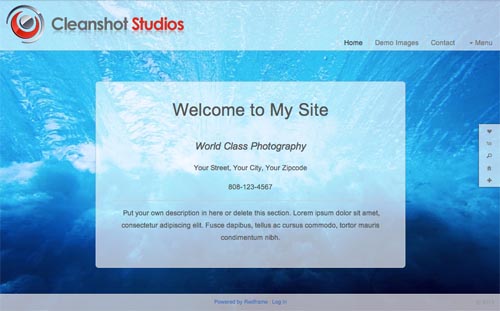
4. Choose a Header Layout
This step is optional. If you like the header layout that came with your Template, then feel free to skip this step.
Customizing your Header Layout helps you achieve that perfect balance between your website’s aesthetics and navigability. Your Redframe website can have one of four general Header Layouts:
Default Header
Right Fixed Header

Left Fixed Header
Top Fixed Header
- If you want to change the Header Layout of your website…
…then use the Real-time Appearance Editor to open the Header Styles menu to quickly choose between Redframe’s preset Header Layouts, or for more advanced customization use Manage Appearance & Settings. Read Change the Header layout on your website for more information. - If you want to change the position of your Logo…
…then use Manage Your Website Logo in the Real-time Appearance Editor to open the Logo Editor. Read Change the position of the Logo or Title in your Header for more information about how to use the Logo Editor. - If you want to change the position of your Navigation Menu…
…then use the Real-time Appearance Editor open the Header Styles menu to quickly choose between Redframe’s preset Header Layouts, or for more advanced customization use Header Settings under Manage Appearance & Settings. Read Change the Header layout on your website for more information.
- If you want to change the position of your Features Menu…
…then use the Real-time Appearance Editor to open the Header Styles menu, where you can toggle the position of the Features Menu by clicking the checkbox next to Fixed Side Feature Menu. Alternatively, you can configure the position and items in your Feature Menu through Header Settings under Manage Apppearance & Settings. Read Change the location of your Features Menu for more information.
II. Create Galleries & Upload Images
1. Create a New Gallery
You will want to create at least one new Gallery to show off your Images.
To create a New Gallery, simply click Create New Gallery in the Top Menu. You will be prompted to name your new Gallery, after which you will be given the chance to choose a Gallery Layout. Once you have named your Gallery and chosen its layout, you will be prompted to upload Images. Read Create a new Gallery for more information about creating a Gallery, or read Gallery Layout Settings for more information about choosing a Gallery Layout.
You can also create a new Gallery from inside Manage Your Galleries by clicking the Create New Gallery button. This is also the only place where you can organize your Galleries into Folders by clicking the Create New Folder button, then dragging your Galleries into the Folder. Read Organize your Galleries into Folders for more information.
2. Upload Images to your Gallery
After you name your new Gallery, you will be prompted to upload Images to your Gallery. Click the Add Photos icon to upload Images from your computer’s hard drive, or drag and drop Image files from your computer onto the Add Photos icon to add the files to the upload.
Once you have added all the Images you want in your Gallery, click the Upload Files button to upload the files to Redframe. Your new Gallery will be created and your Real-time Preview will refresh to show your new Gallery.
For more information, read Upload Images to your Gallery.
3. Delete the Demo Gallery
When you create your new Redframe website, by default it comes with a Gallery called Demo Gallery (or Sample Gallery on certain Templates). This Gallery is designed to show off how your Images can look on your Redframe website… in the same way that a stock photo might show off a new picture frame. Since these demo Images are placeholders only, you should delete the Demo Gallery early on.
To delete the Demo Gallery, in your Real-time Website Editor navigate the Demo Gallery by click on its link in your Navigation Menu. Once you are viewing the Demo Gallery, click Edit Gallery in your Top Menu, then click Delete Gallery to delete this Gallery.
For more information on how Redframe handles deleting Galleries, read Delete a Gallery.
4. Manage Your Galleries
As you maintain your Redframe website, you will want to add, delete, and edit your existing Galleries. You can configure your existing Galleries using Manage Your Galleries, which is available in Top Menu under Manage.
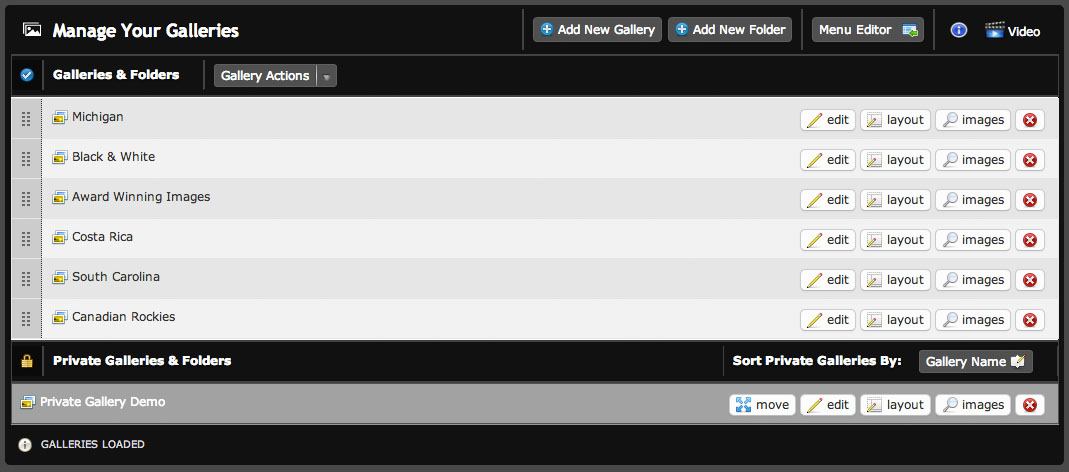
Under Manage Your Galleries, you can:
- Create new Galleries
- Create new Folders for organizing your Galleries
- Edit the layout and settings of existing Galleries
- Delete existing Galleries
- Rename your Galleries
- Apply Watermarks to your Gallery Images
- Create Private Galleries and Folders for your Customers
III. Create & Edit Pages
1. Customize Your Home Page
Your Home Page is the very first page your Customers will see on your website, so you want to give the best impression possible. Customizing your Home Page is one of the most important steps you can take to entice your Customers to explore your website.
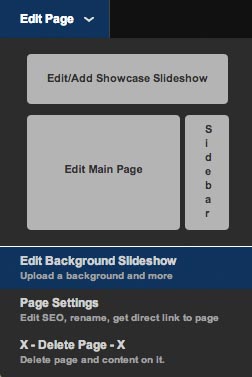
To begin customizing your Home Page, first navigate to the Home Page in the Real-time Website Editor, the click Edit Page in the Top Menu. The Edit Page Menu will slide down.
Customize Your Slideshow
- If your Template uses a Background Slideshow…
Example of a Template with a Background Slideshow.
…then you probably already set up your Background Slideshow earlier in this tutorial. If you want to change your Background Slideshow, then clicking Edit Background Slideshow will open the Background Slideshow Editor. Read Use the Background Slideshow for more information.
- If your Template uses a Showcase Slideshow…
Example of a Template using a Showcase Slideshow. This Template is using a Slider Showcase.
…then click Edit/Add Showcase Slideshow to open the Showcase Editor. You will want to delete the demo Showcase Image Slides, then upload and configure the Showcase to best fit your Image Slides. Read Use the Showcase Slideshow Editor for more information.
- If your Template does not have a Background or Showcase Slideshow and you would like to add one…
…then click Edit Background Slideshow to create a Background Slideshow, or click Edit/Add Showcase Slideshow to create a Showcase Slideshow.
- If your Template has a Background or Showcase Slideshow, but don’t want it…
…then click Edit Background Slideshow and follow the instruction on how to disable the Background Slideshow, or click Edit/Add Showcase Slideshow and follow the instructions on how to deactivate or delete a Showcase Slideshow.
Edit Your Home Page Content
Your Home Page is all about YOU! You can say as much as you want about your business, or you can sit back and let your beautiful Images do all the talking.
Depending on the Template you’ve chosen for your website, your Home Page may have a lot, a little, or no Page Content by default. Each Template’s default Home Page layout is designed to make it easy for you to replace the text and images on the Page while keeping the same visual aesthetic. Of course, if you don’t like the default Home page layout of your Template, you can simply delete or change any of the Page Content on the Home Page to fit your needs.
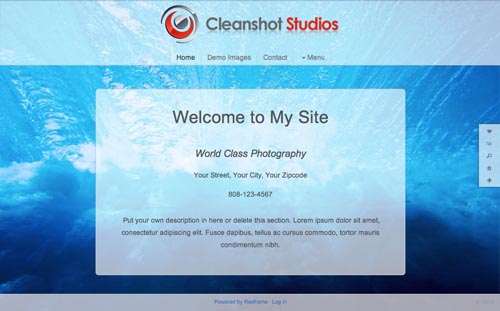
 Templates such as Illuminate (top) and Kailua (bottom) work best with very little content on the default Home Page. Other Templates that use this type of Home Page by default include Moda, Element, and Odyssey.
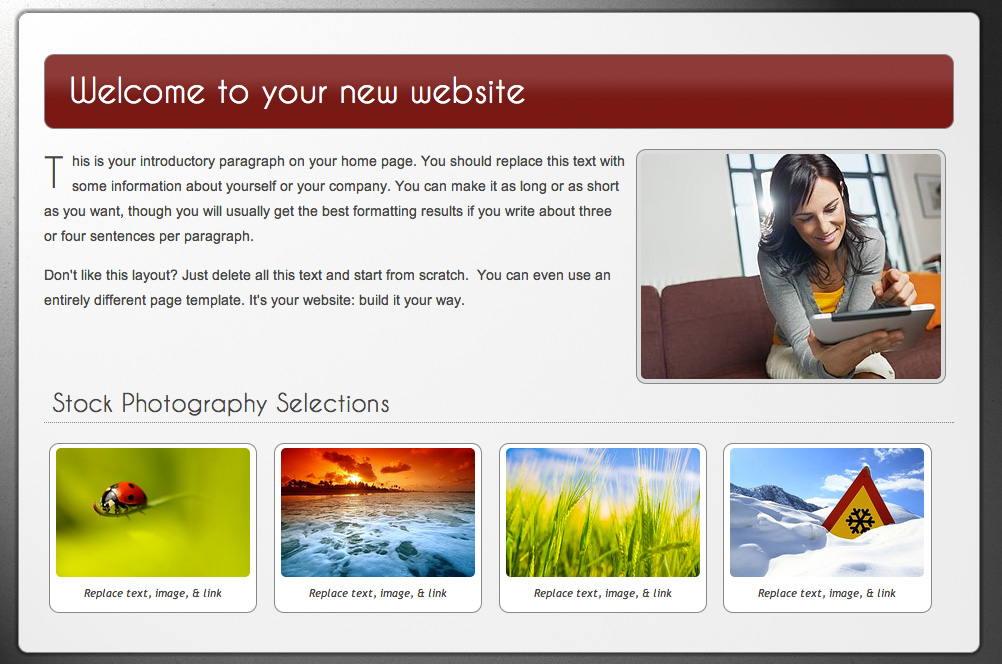
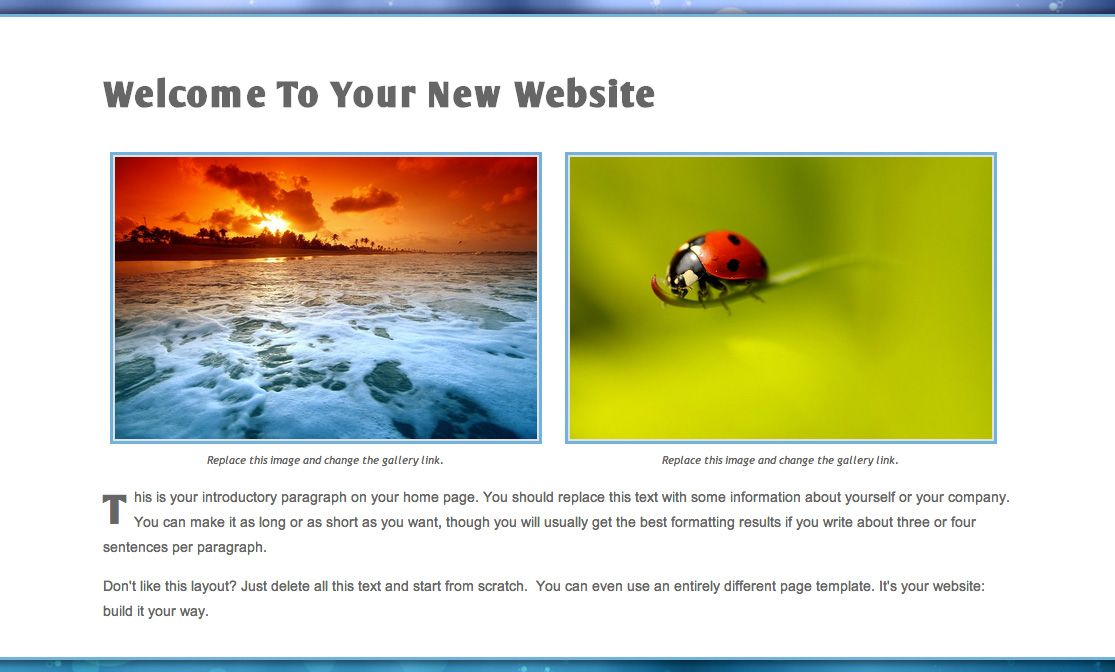 Templates such as Curvature (top) and Open Exposure (bottom) have more complex Home Page layouts by default. You can replace the elements with your own Images and text, or you can delete it all and make your home page as simple or complex as you’d like. Other Templates that default to this type of Home Page include Fresh Start, Aperture Tabbed, Floating Elegance, Vision Studios, and Sharper Edge.
Waipio is currently the only Template the defaults to an empty Home Page so that you can show off your Background Slideshow. However, you can achieve a similar effect on any other Template by deleting all the content from the Home Page and adding a Background Slideshow.
To begin customizing your Home Page, click the Edit Main Page in the Edit Page Menu to open the Page Editor.
With the Page Editor, editing the text on your Home Page is as simple as clicking on the text you want to change and typing. The Page Editor lets you change the fonts, colors, and layouts of your text, as well as add Images, Media, and Widgets to your Home Page. Read Use the Page Editor for more information on how to build your Home Page with Redframe’s tools.
Your Home Page can be as simple or complex as you want, but you will at least want to replace all the temporary content with your own text and images. A few things to keep in mind:
- While lots of descriptive text is often good for search engines, it can be off-putting to visitors if they have to read a long page to find information on your website. If you want to have a lot of content on your Home Page, try using Page Elements to organize your sections into preset layouts.
- Beautiful pictures are a great way to show off your work, but remember that too many pictures on the Home Page will slow down the load of your site, especially if you are using a Background Slideshow or Showcase Slideshow.
- Focus your content on the most important or most recent areas of your website. If you use your site to frequently update event photography, you may want to have links to your most recent event Galleries on top. If you are focused on selling prints or merchandise, you may want to promote recent deals or most popular products near the top. Contact Redframe Support you need ideas on how to use Redframe for your business.
- When in doubt, keep it simple. Sometimes the best thing to do is to let your beautiful photography shine in a Background Slideshow or Showcase Slideshow. If a picture is worth a thousand words, maybe letting your Images do all the talking is the best approach.
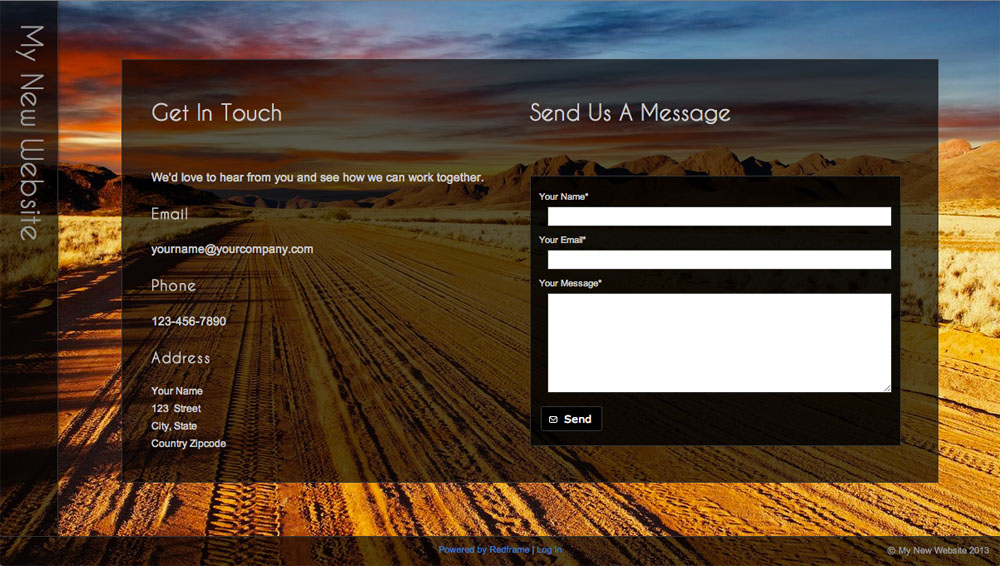
2. Customize Your Contact Page
Along with your Home Page, your Contact Page is the only other Page that is mandatory for your Redframe website (all other Pages can be deactivated or deleted).
Your Contact Page is automatically set up with a Contact Form that will sends messages from your Customers directly to your email inbox. To learn how to change which email address is used by your Contact Form, read Edit Your Personal Info.
To set up your Contact Page, you will want to replace the temporary contact information with your own email address, phone, and address. To do this, in your Redframe Admin:
- In the Real-time Website Editor, navigate to your Contact Page, then click Edit Page in the Top Menu.
- Click Edit Main Page to open the Page Editor.
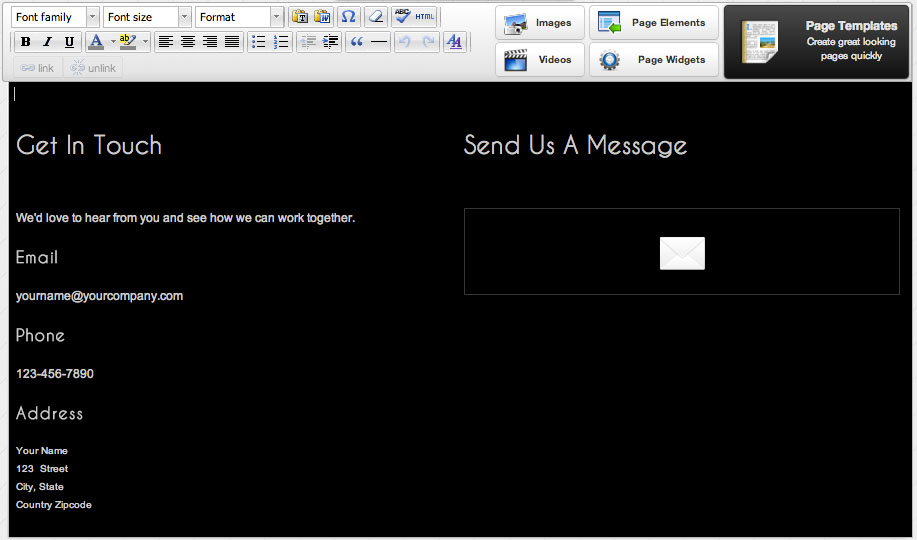
- Click into the editor and replace the email, phone, and address information with your own info. If you want to add links to your Facebook, Twitter, and other social media accounts, this is a great place to add them. Read Use the Page Editor to learn how to use the edit tools to create links and change your text.
- Click Save and View to apply and see your changes on your website.
The default Contact Page layout that comes with your Redframe Template is just a suggestion; you can always modify the layout of this Page to suit your needs. If you delete the Contact Widget, a Contact Form will still automatically be appended to your Page. At the very least, you Contact Page will always contain a Contact Form for your Customers to use to send you messages.
3. Create & Edit Other Pages
Your Redframe website is not limited to just a Home Page and a Contact Page. You can create as many individually customized Pages as you want; just remember to organize your Pages in your Navigation Menu so your Customers can easily find your content. Each page can have its own unique layout and sidebar, or it use the global Page settings.
Certain Redframe Templates come with other Pages included by default, such as a Services Page or a About Us Page. Depending on the needs of your website, you may want to edit these Pages to include your content, or you can always deactivate or delete these Pages if you do not want them.
Some examples of commonly-used types of Pages include:
- About Us: Share a little about yourself, your Company, and your history.
- Services: Talk about what your Company does, services offered, and package deals.
- Portfolio: List preview Images and links to the Galleries on your website. The Thumbnail Widget is useful for easily showing preview Images from each of your Galleries.
- Blog: Write updates about your Company’s recent activities. If you already have a blog hosted on WordPress, Blogger, or another blog platform, you can embed your blog as an External Page so that it appears in a pop-up window over your website.
- Video Blog: If you product your own videos on YouTube, Vimeo, or other video website, you can embed your videos using the Media Tool in the Page Editor. Alternatively, you can embed your video as an External Page so that it appears in a pop-up window over your website.
- FAQ: Otherwise known as Frequently Asked Questions, this Page is useful for answering questions frequently asked by your Customers.
4. Manage Your Pages
As you build and maintain your Redframe website, you will want to occasionally update your Pages to contain your most recent information and Images. You can configure your existing Pages using Manage Your Pages, which is available in Top Menu under Manage.
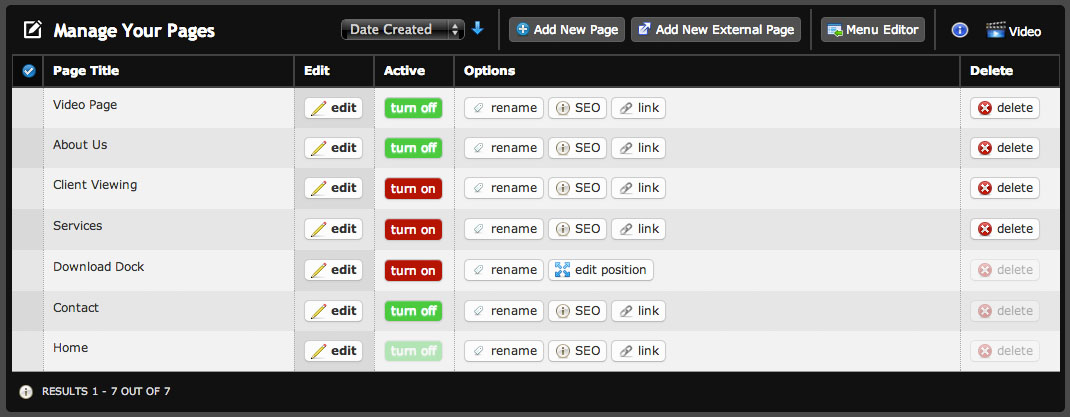
Under Manage Your Pages, you can:
- Create new Pages.
- Create new External Pages that link to other websites.
- Create new External Pages that contain embedded media, such as videos or music files.
- Edit the content and layout of existing Pages
- Delete existing Pages.
- Turn a Page on or off. Turning a Page off will hide it on your website without deleting it.
- Rename existing Pages.
- Edit the Search Engine Optimization information for your Pages.
- Get a Direct Link to your Page that you can share with others.
- Enable or disable the Download Dock, and change the location of the Download Dock on your website.