About Page Elements

Page Elements can be very useful tools in designing your pages by making your page creation much faster and easier. Page Elements provide you with pre-set areas for images, video, text etc. You simply need to replace the image and/or text ‘place holders’ we provide with your own.
Page Elements differ from Page Layouts in that they contain fewer elements. For example a page layout may include 6-8 images and 3-4 different areas for text. A page element is much smaller, containing only a single picture or two and fewer text boxes.
Page elements can be combined with other page elements to build the ‘perfect’ page for your site.
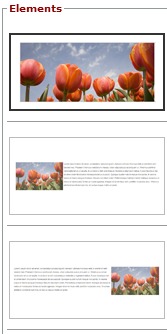
The example to the left is of a few Page Elements – Images you can insert into a page.
To insert a Page Element via the Redframe Site Editor:
- From the Site Editor, navigate to the page you want to work with (Ex:Home, Services etc) and click Edit This Page in blue
- Click Edit Main Page
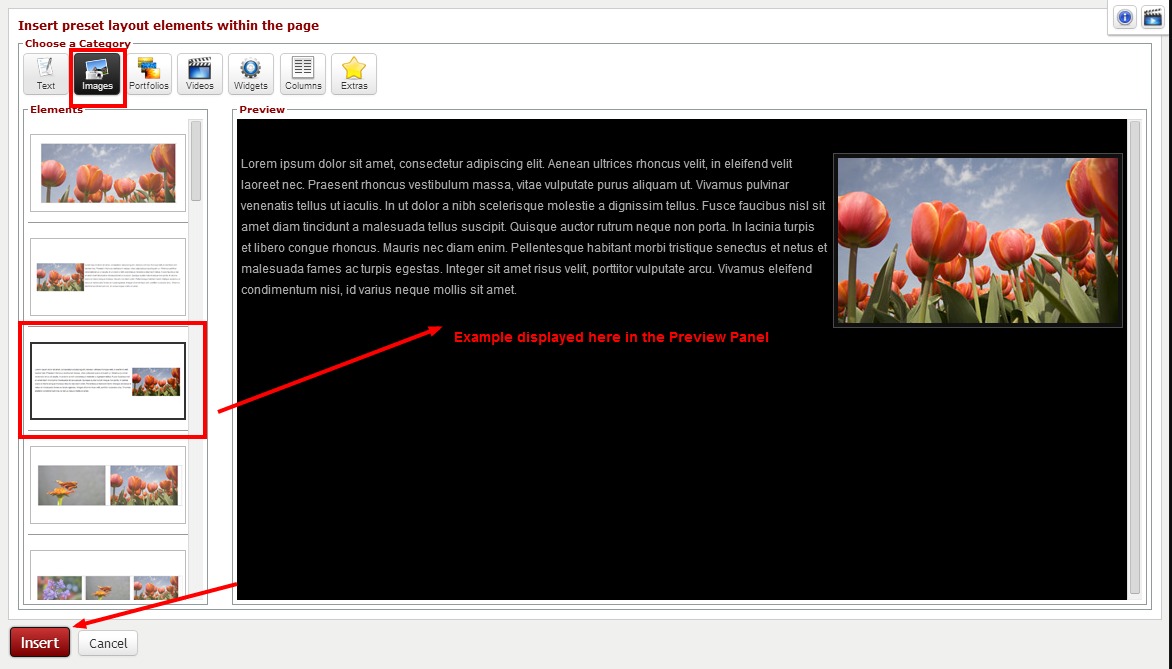
- Click Page Elements button when the Page Editor pops up – Please note – you may want to place your cursor within the page where you will want the Element to be placed within the body of the page when you click Insert later in the instructions. Otherwise, the Element will be inserted above any other content or at the top of the main page body content

- See and choose an element from the Choose a Category drop down list.
- Then you can see available options in the Elements area. Clicking one of the smaller thumbnails will display a larger version in the “Preview” panel, and the displayed element will have a black highlight line around it.
- When you have chosen the Element you want to place on your page, click the Insert button
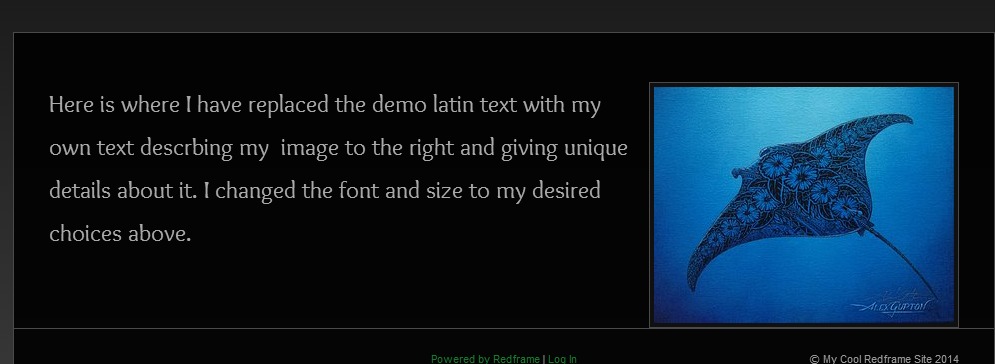
 After clicking Insert, you will be returned to the Page Editor where you can replace the demo text and image with your own.

NOTE : You can also access the Page Editor for any page via ‘Manage Your Pages’ in the drop down Menu under ‘Manage’. Open the Page Editor by clicking edit for any given page, and the Page Editor will open for that page.
