It’s easy to quickly add lots of Images to a Gallery using Redframe’s Image Uploader.
Opening the Image Uploader
After creating a new Gallery
Any time you finish creating a new Gallery, you will be automatically prompted to use the Image Uploader to add Images. If you click Upload To A New Gallery, you will first create your new Gallery before using the Image Uploader. Read Create a new Gallery for more information.
Uploading to an Existing Gallery
If you are currently viewing a Gallery in the Site Editor, click Upload in the Menu Bar to open the Image Uploader for that Gallery.
While viewing a Page in the Site Editor, or if a Gallery is ‘Empty’
If you are viewing a Page in your Real Time Editor, and click Upload in the Menu Bar and you will be prompted to upload Images to a new Gallery or an existing Gallery.

If you Create a New Gallery and do not/did not upload images for some reason, and try to view the Gallery in the Site Editor – you will see the following message, 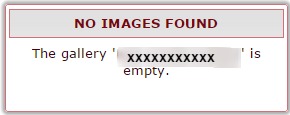 and will know you still need to upload images to this gallery. You can do so by clicking Upload in the Menu Bar and the system will again open the Image Uploader to to ‘Add Photos’ to that Gallery.
If you click Upload To An Existing Gallery, you will be prompted to choose the Gallery to which you want to upload Images.
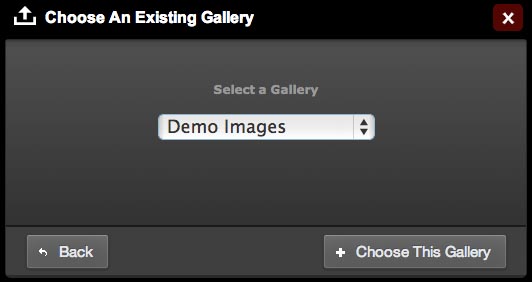
Select an existing Gallery from the drop down menu, then click the Choose This Gallery button to open the Image Uploader for that Gallery.
Uploading/Processing your Images
There are 2 parts to the Redframe Uploader
1. Uploading – images are Uploaded to the Servers and wait in a Que on a first come first server basis to be Processed
2. Processing – Images in the Que are Processed or Optimized for presentation on your website. This process is necessary to display your images at the highest quality on computes, tablets and phones. As long as your images are .jpegs and of reasonable size (larger than 250KB and smaller than 4MB each) you should not need to do any image preparation/resizing before upload. However, for best upload results, and to avoid our resizing having any effect, you might want to resize your images before upload. Click here for info about Image Preparation and Image Display Size and trouble shooting tips for Gallery Image Resizing/Preparation for Upload.
Using the Image Uploader – Real Time Editor
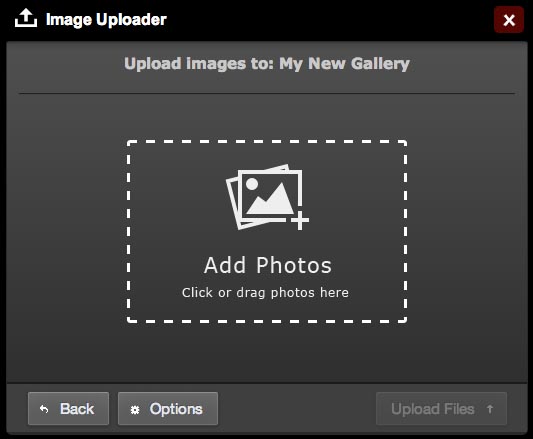
To add Images to the Image Uploader, you can either:
- Click the Add Photos button to open a browser to files on your computer. Select the files you want to add and click the Open button….or…
- Select files on your computer, then drag and drop them onto the Add Photos button.
PRO TIPS: You can select multiple files to upload individually by holding the CONTROL key on Windows (COMMAND key on Macs) while you click on each file. You can select a range of consecutive files by clicking on a top file, then holding the SHIFT key as you click the bottom file. You can select all the files in a folder by pressing CONTROL+A (COMMAND+A on Macs).
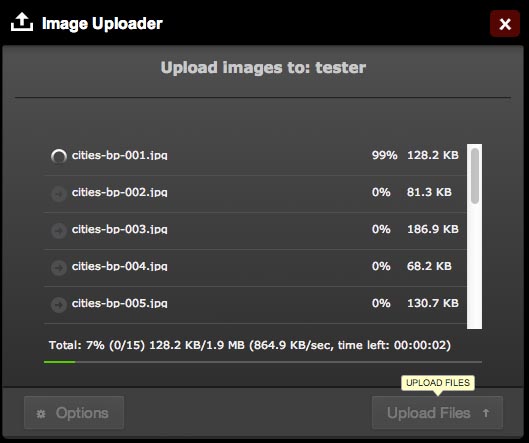
Once you’ve added the files you want to upload, click the Upload Files button to begin the upload. Uploading images is usually quite quick – and any slow down you experience will likely be in the Processing Stage.
When your Images finish Uploading, and if you are working in the Real Time Editor or if you uploaded via the ‘Manage your Images’ area, you can do other tasks in the Admin/Editor while your images Process. You will see a Successful Upload message:
Your Images have now successfully been uploaded to our Servers, and await (if necessary during peak times) to be Processed. During image Processing, you will see a Processing Message of various status in the upper right hand corner of the Admin/Site as your images are processed one by one. If you did not resize your images before upload, the Processing time will take longer, as our system must resize them down to fit the display parameters. Processing can take from 1 second to a few minutes per image, or longer if we are processing mass images during peak times. It is for this reason, we allow you to work in other areas of the Admin during process time, and display a status message in the upper right hand corner of the Site/Admin: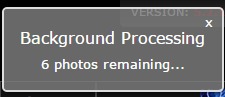
When the Processing of your Images is completed, and you did not go back to the Gallery you just uploaded to, and are viewing other areas in your Real Time Editor – you will see a small message in the upper right hand corner of your site in the Real Time Editor: 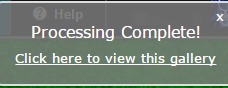 If you closed/x’d out of this prompt during processing – you will need to visit the Gallery in the Real Time Editor to see the images, and you will not see the above message in the right hand corner.
NOTE: If you Uploaded images to a new or existing Gallery from ‘Manage your Images’ the newly uploaded and fully processed images will display in the ‘Manage Images’ as Thumbnails in the Admin area when completed, for editing.
Image Uploader Options
Click the Options button in the Image Uploader to toggle the Image Uploader Options. You need to set these options before clicking Upload Files for the new options to have effect.
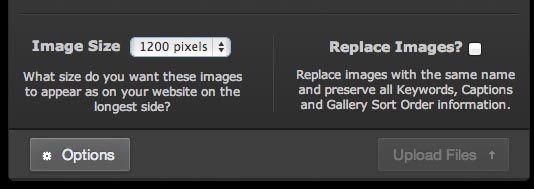
- Image Size: set the maximum size of the longest side of your Images in px. Redframe uses this setting when compressing your Images. 1200px is recommended for making your Images look best across all devices, but if you are concerned about people stealing your images with screenshots then you may want to use lower resolutions (see How does Redframe protect my images?)
- Replace Images: if true, all Images with the same name will be replaced but all Keywords, Captions, and gallery order will be preserved. This is useful if you want to replace an existing image with a newer version you edited later.
Important information about Image uploads
If you find that an entire upload fails or some of your images do not show/upload and process successfully, (or if an upload never completes), please contact Redframe Support. There can be some slow down during busy times – our Servers/Uploaders are busiest on Monday and Tuesday mornings, however, we have multiple Servers which are designed and set to manage high traffic, and mass uploads from clients. If you experience a wait time of longer than 1 hour for your Upload/Processing of Images, please let our Support know.