A Price List is used to group together items that will be sold in a particular gallery. For example, you may want to create one Price List for your hand painted portraits and a different Price List for the pictures taken at last weekends football game. When a new Price List is created you will save it with a Price List name. Existing Prices Lists can be copied, edited, and deleted.
Creating a Price List:
To access Price Lists in the Store Manager, in your Redframe Admin:
- Click Manage in the Top Menu.
- Under Store & Customers, click Create & Manage Your Store to open the Store Manager.
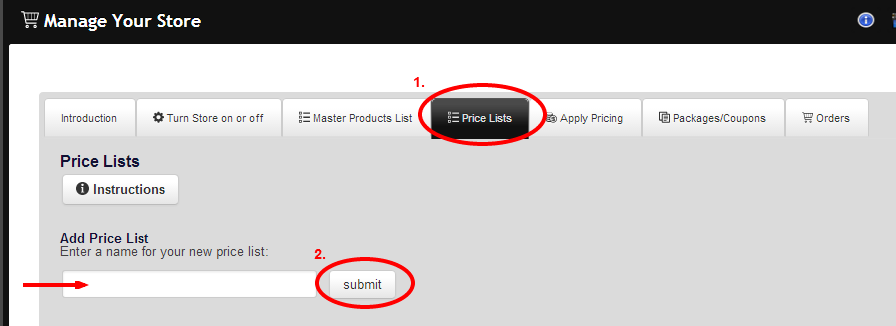
- Click on the “Price Lists” tab.
- Enter the Name of Your Price List.
- Click “Submit“.
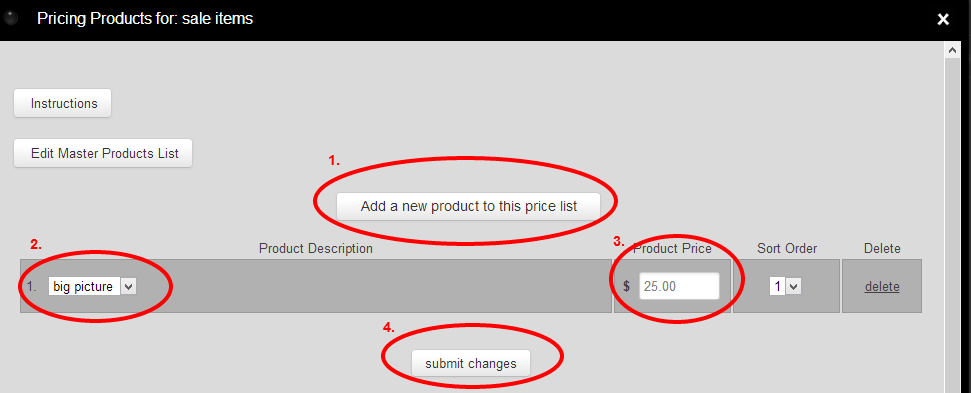
Adding products to a Price List:
Now that your price list has been created, you can add products to the list by clicking ‘add/edit products’.
Rename: Click ‘rename’ to change the name of your pricelist at any time. Each Price List is required to have a unique name.
Edit:
Click ‘add/edit products‘ to add or change the items that are stored in this Price List. Prices for your items are also set in this area.
Copy:
Click ‘copy‘ to copy your Price List and save the copy with a different name.
Delete:
Click ‘delete‘ to permanently delete a price list that is no longer in use.
