Online proofing is a great way to present images with your customers. There are 4 main steps to getting started with online proofing.
1. Create a new Proofing Set. From the Manage menu, click on “Manage Your Online Proofing”.
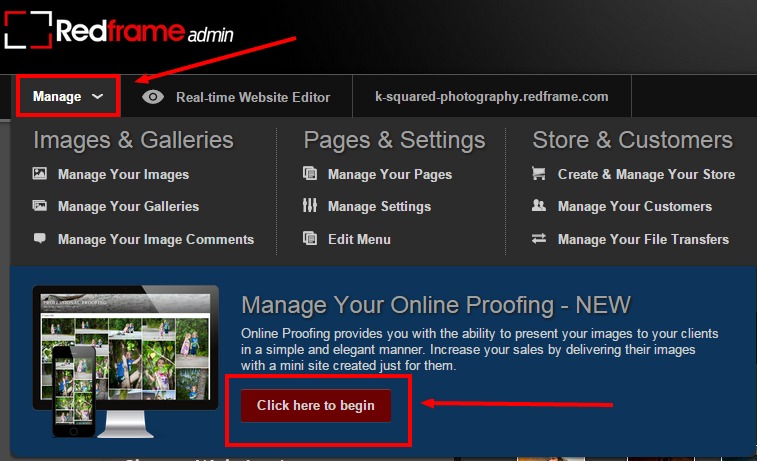
Then click on “Create a New Set”. Give it a Title and tag line. The SET is the set of Galleries you will be creating for your client. The SET page holds the HEro image and is the landing page for their unique URL.

Click on “Create a New Set”
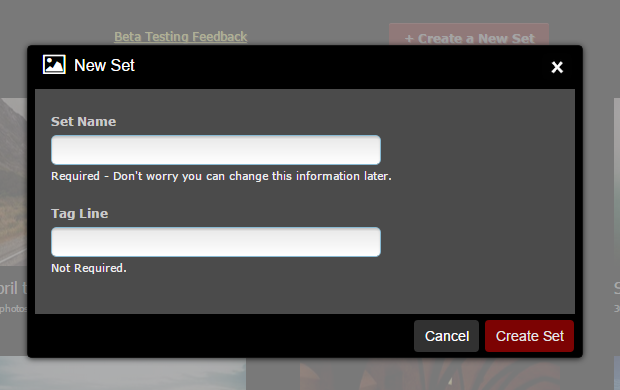
Give your set a Title and an optional tag line
2. Add a “Hero Image”. The “Hero Image” is the primary image that your client see when visiting their proofing gallery, so its a good idea to use an image that makes a great impact. note: since this image is going to be presented in a large scale format, it is considered best practice to add a digital watermark to it prior to uploading.
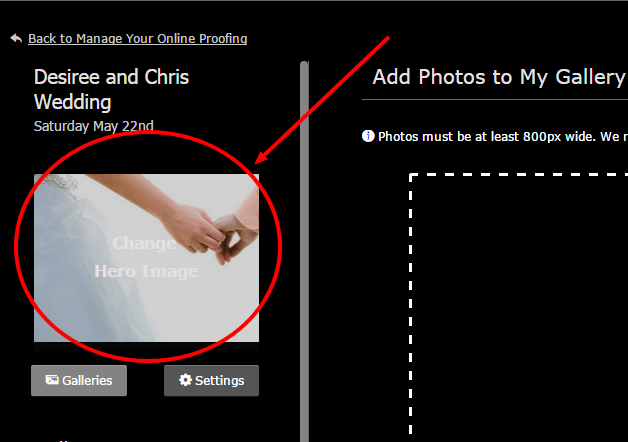
Click to Add a Hero Image
3. Upload your images to the gallery.
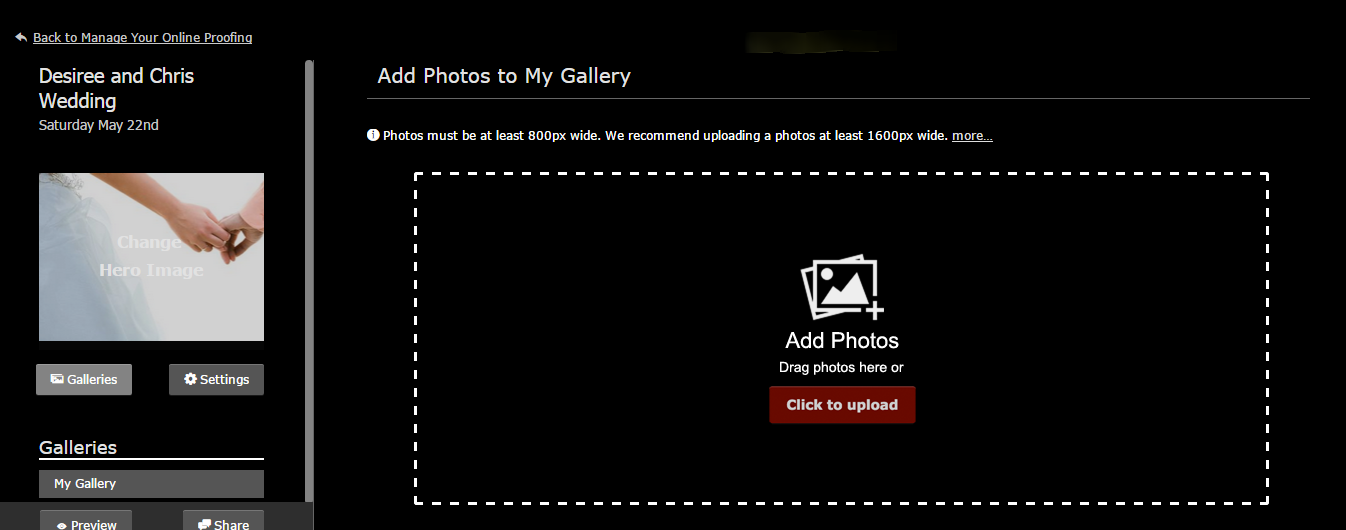
Upload Your images
4. Share the link to the Proofing Set. If you are creating a proofing set of a private nature such as a wedding or portrait session you may want to share the link using the built in email generator that creates an elegant invitation for your client. If you are proofing a more public event you may choose to share the set through social media channel with the integrated sharing tool.
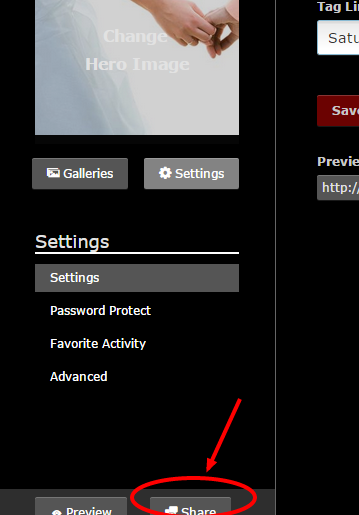
Click On Share in the bottom left of the screen.
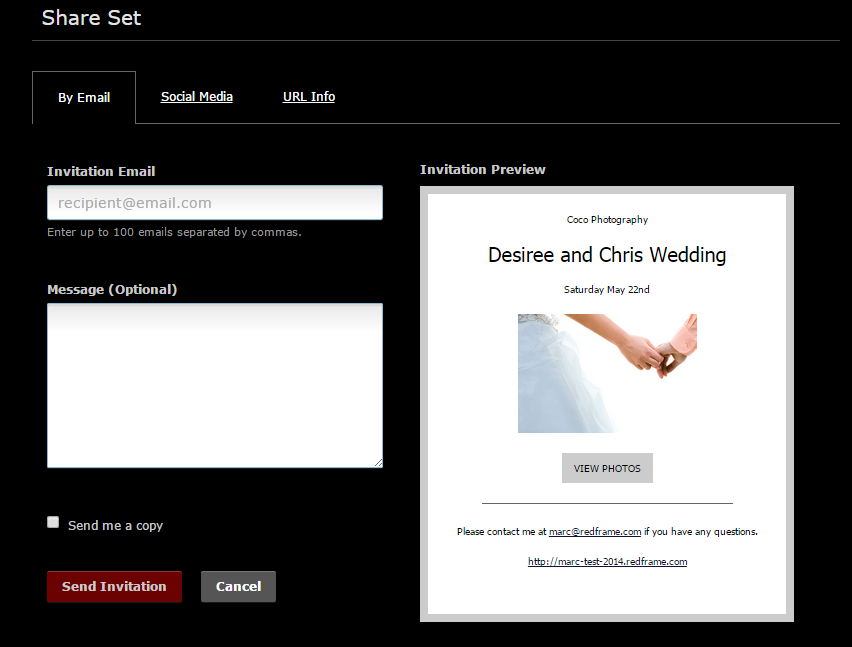
Send Your Client an elegant invitation.
Extras
5. Password Protect your Proofing Set. for extra privacy and to give your clients more peace of mind you can choose to password protect the proofing set.